
Turn Any Image Into Interactive Particles With Midjourney + Claude Code
A guide to turn static images into scattered particles with motion, using vibecoding. Perfect for interactive creative visuals.

I made a portrait, then turned it into a cloud of glowing particles that scatter when you move your cursor. Some of you asked how I did it. So here are the steps on how to do it yourself 🌸
From Image To Particles
The technique is simple and fun: you take an existing image or create one and use code to rebuild it as interactive particles that react to your cursor.
What you'll need: Midjourney for images, and Claude Code/Claude Design to bring it to life.
Where to use it: A website hero, a portfolio landing, a launch reveal.
🌀 Related: I also made a tutorial on how to build unique scroll animations. Techniques, examples, pro tips, + 5 prompts you can paste into Claude Code or Claude Design: Scroll Animations with Claude: How to Build Motion That Stands Out
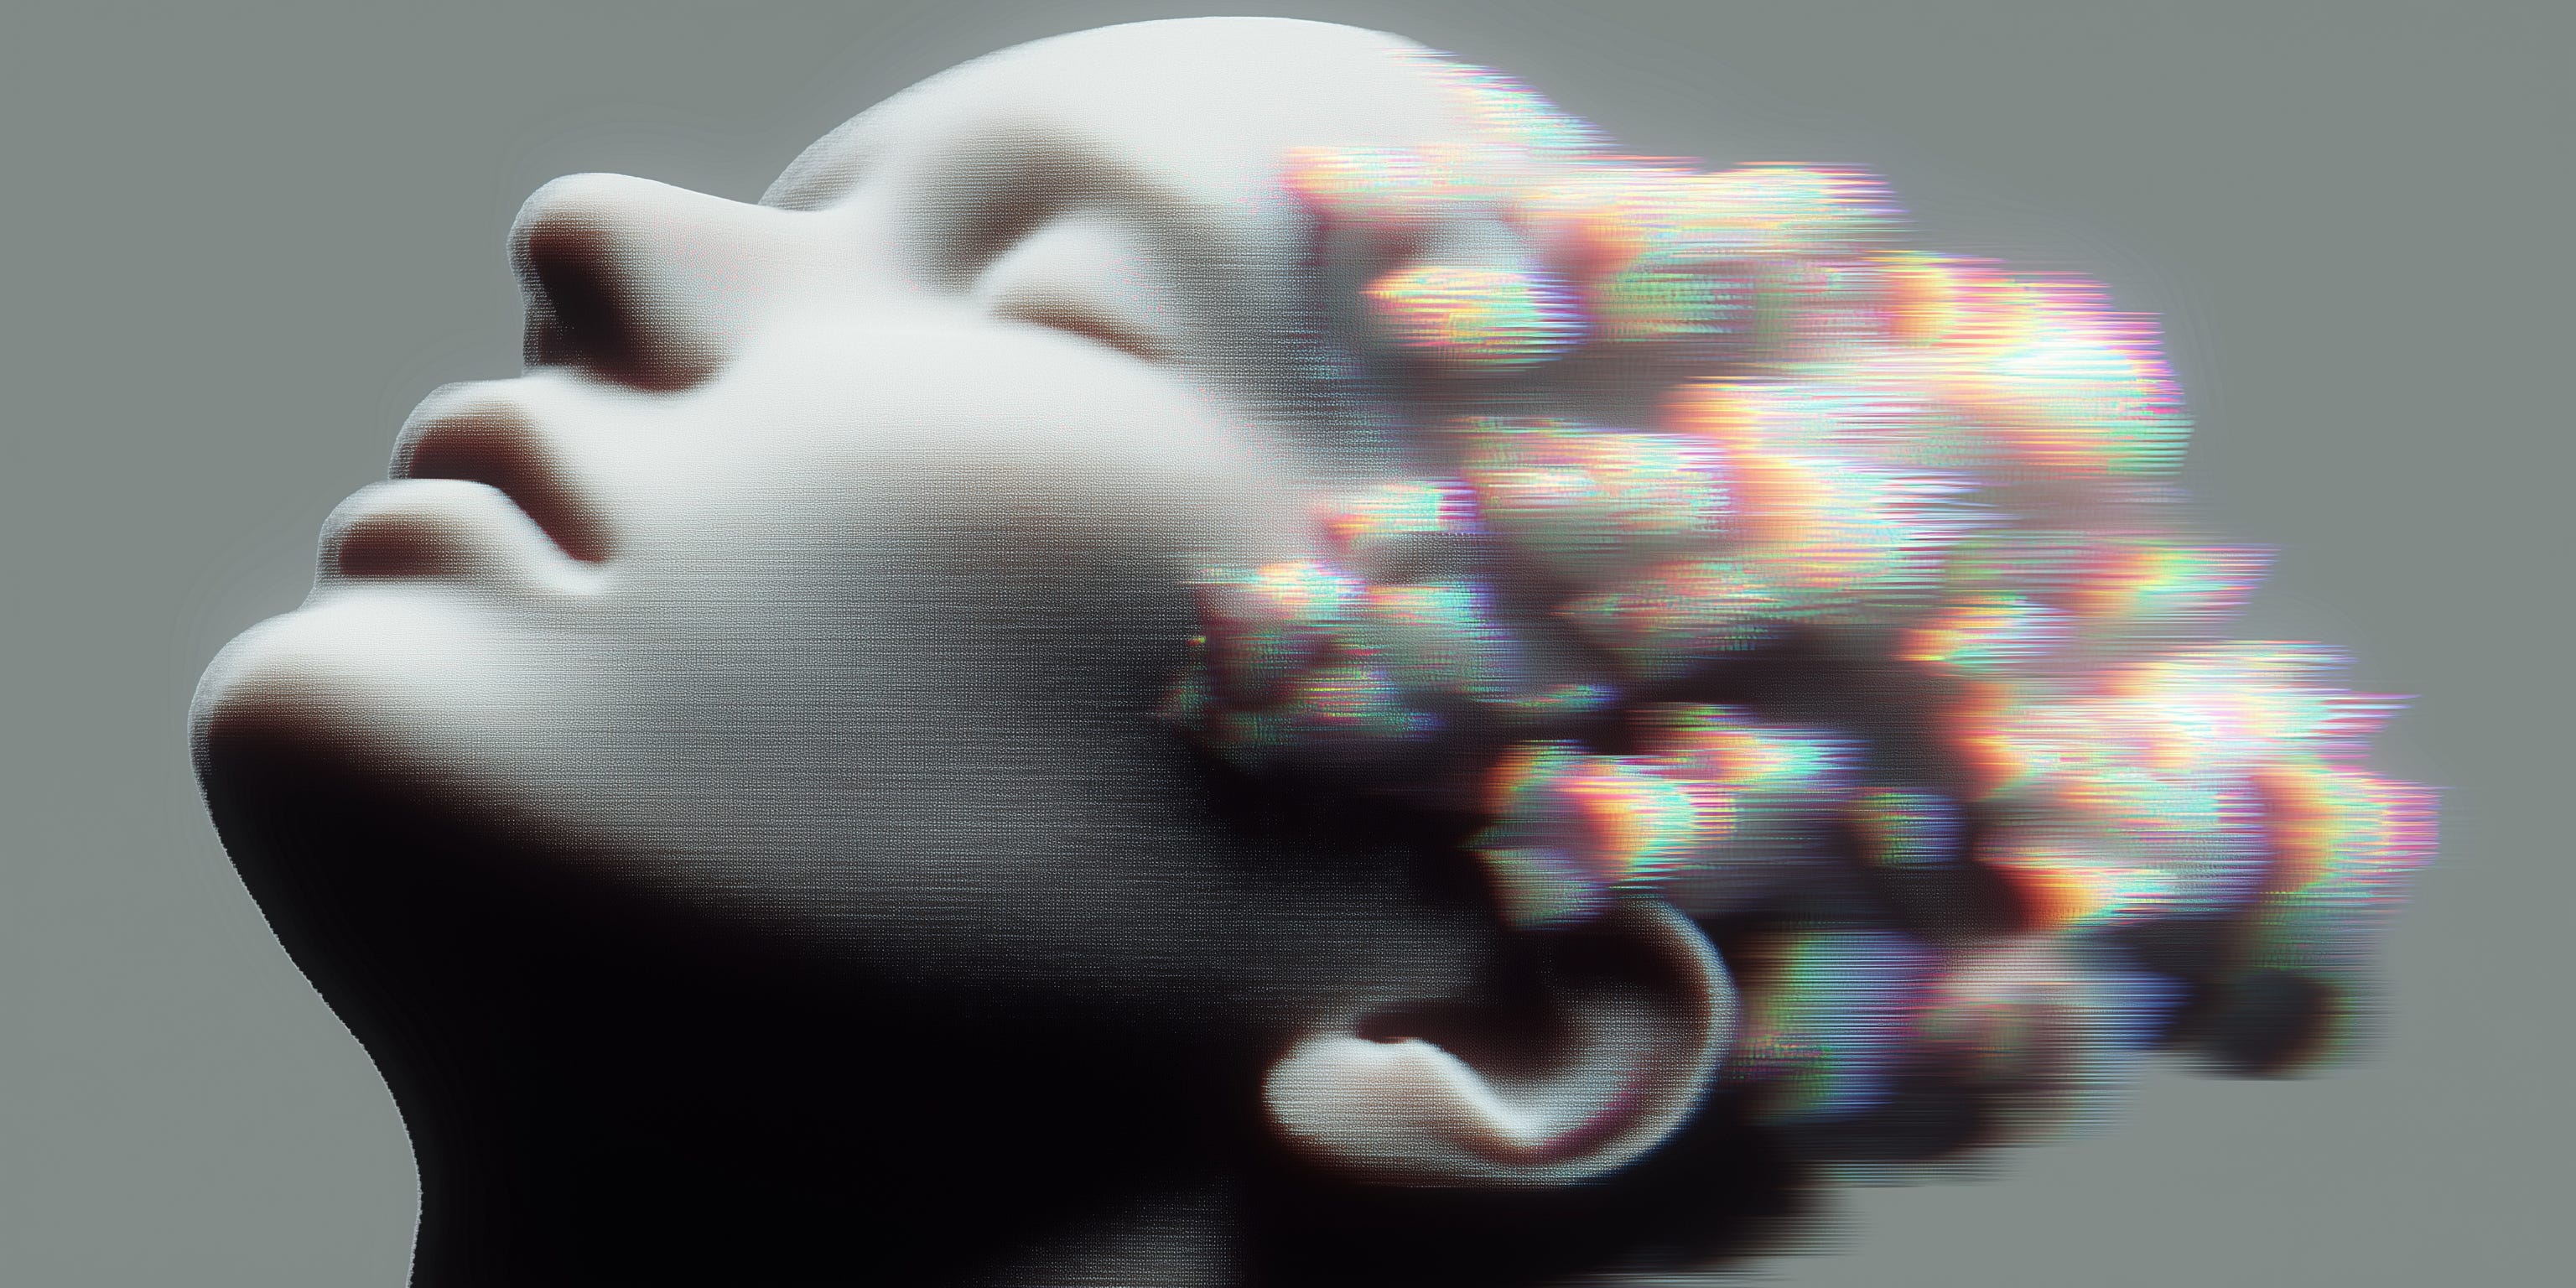
Step 1: Make Your Visual
I used Midjourney to create the portrait, but you can use any tool you want. The subject is up to you. The technique only cares about a few qualities:
Good contrast: clear light and shadow; bright areas become dense clusters of particles, dark areas go sparse, and that’s what gives the subject its form.
A clean background, or a cutout PNG: the effect needs to know where the subject ends and everything else begins; anything with a clear shape works.
Create a portrait with Midjourney
Prompt: Profile portrait of woman facing left, head tilted up, eyes closed, serene,
smooth matte sculptural skin, soft directional studio light,
deep shadow under the jaw and neck, plain seamless pale gray background,
the back of the head dissolving into abstract iridescent glitch fragments,
digital dispersion, monochrome face with prismatic color only in the glitch,
fine grain, editorial, simple one color grey background
--ar 2:1 --chaos 10 --stylize 150
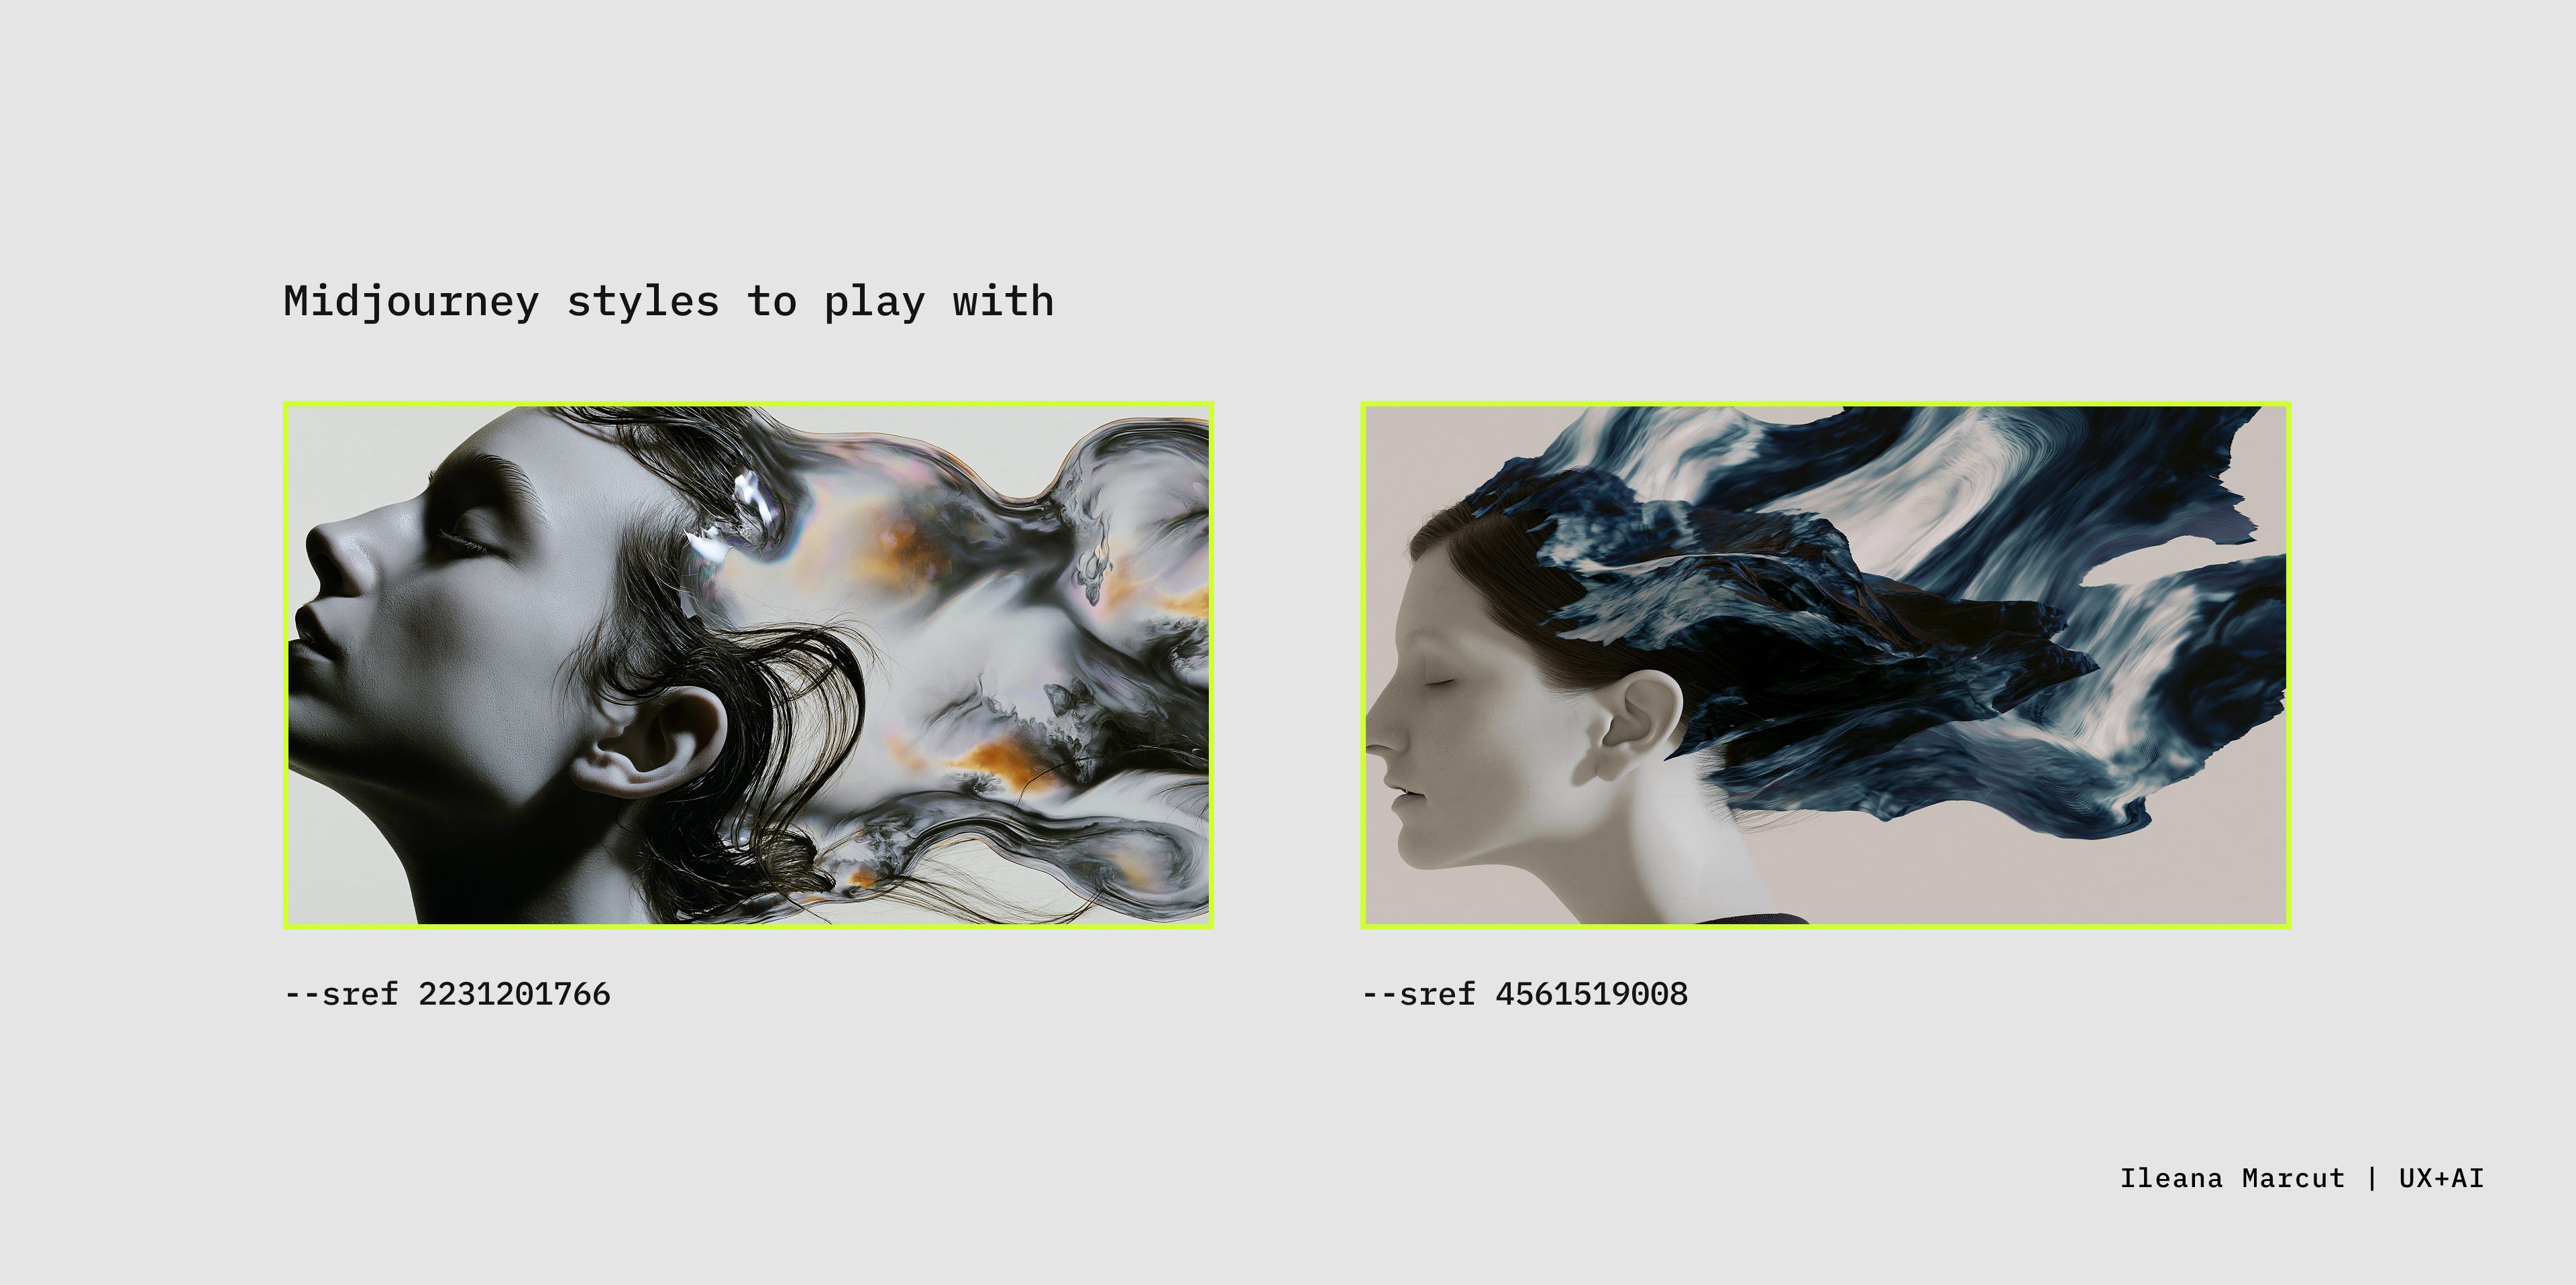
Midjourney styles to play with!
Add one of these style references to the end of the prompt for a different vibe:
--sref 2231201766
--sref 4561519008
Step 2: Transform It Into Particles
Paste the prompt below into Claude Code and provide the image path from the folder you want your project to live in. Use my version as-is, or change specs and make it yours.
Prompt to transform you image into interactive particles:
Use the image I provide to build a full-screen functional hero web page: an image rendered as thousands of white particles of light on black, that the cursor pushes around.

Description:

The image should look like it's made of light — countless tiny white specks, dense where the picture is bright and along its edges, thinning out into the shadows, all floating on a pure black background.
Trace out just the subject in detail — its shape and the light and shadow within it, not a flat silhouette, and remove the background.
At rest it should feel alive but calm — the particles drift and breathe very gently, like dust suspended in still air.
When I move the cursor across it, the particles near the pointer push away and the image parts around them, then drift back into place once I move on. It should work with touch as well as a mouse.
Keep it smooth and crisp on any screen size, and if someone has reduced motion turned on, just show it still.
Make it one self-contained React component.
Prompt to add tweak settings (optional):
Add a small live control panel on the page so I can tweak it without touching code.
Place it in the upper right corner: minimal panel and collapsable.
Settings options:
- a slider for the number of particles
- a slider for how big each speck is
- a colour picker for the particle colour (default white)
- a slider for the cursor size (how big the pointer is and how far it pushes)
- a dropdown for the cursor style (dot, ring, or crosshair)

Changing any control updates the effect live, and the panel shouldn't fight the artwork.
Add your angle to make it uniquely yours! 🪄
Play with color: you could go warm, monochrome, full rainbow, or use a brand palette.
Particle density: work with the texture, density, and the shape.
Experiment with the motion: make it swirl, attract, ripple, or add different triggers.
Add new layers: enrich it with text and other elements to give it purpose and depth.
That's it. Have fun!
If you try this, send me what you did! I'd love to see what shape it takes.
Thanks for reading! 🫶
Get the full library of AI skills, prompts, and frameworks! 💎
For designers and product people who want to thrive in the AI era:
The AI UX Risk Skill | The Idea Studio Skill | 100 Principles for Designing AI Products | Control Evaluation Prompt | Framework for Discovering Problems
+more!
New resources keep coming 👌
More UX + AI Reads 👇🏽


Let’s Collaborate 💫
I help teams design and build digital products, AI experiences and systems. Let’s chat!
Open to Substack collaborations. I’m one DM away!
I’m Ileana Marcut, founder of Creative Glue Lab, a design + development studio focused on digital products, AI-native tools, and systems. I write UX+AI, where I share practical insights at the intersection of UX, AI, and product strategy.
Such a fun method to do this, Ileana. Definitely trying this out later!
Wow, this is fantastic!! ❤️❤️